
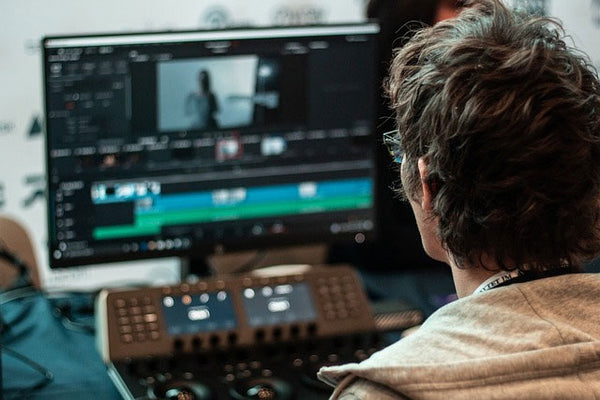
Introduction to Video Editing
Most people make the mistake of thinking that editing video is all about complicated transitions, fancy colors, and expensive cameras. All of that is only one tiny part and it isn’t even necessary. By far the most important thing is and always will be the story. It simply consists of the video clips you choose and how you sequence them together.
That's great news for you because it's the easiest part to learn.
This guide will go over 3 basic steps of video editing on your computer: creating the timeline, editing the timeline, and adding music.
Step 1. Creating the timeline
Use Your Editing App
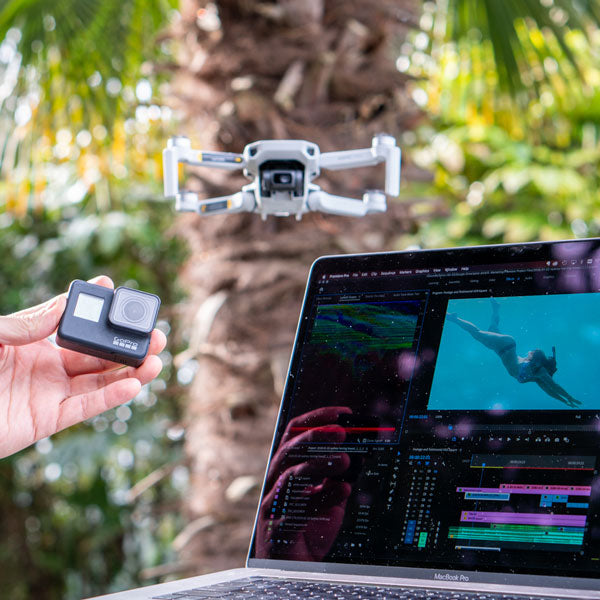
You’re going to need an editing application on your computer for the rest of this guide. If you’re already using one, stick with it. Here are some good ones we've tried:
- Premiere Pro - For advanced users, it's worth investing in if you’re going to be making videos for a long time to come. (this is what we use)
- Final Cut Pro - Also for advanced users, made by Apple.
- Shotcut Free - Good for beginners and offers some advanced features. It's structured like many advanced programs, so learning on this will help you in the future.
- iMovie Free - For Apple users on OS and iOS (comes with all Apple computers/devices)
Bonus content: 10 Best Free and Paid Video Editing Apps for iPhone and Android in 2019 (For All Skill Levels)
There are many free apps available for editing videos on your phone, while some of these can work for making short videos or placing a few clips together, we recommend using a computer for travel videos because they are longer and more intricate.
Dragging and importing clips into the timeline
Go through your trip folder, clip by the clip, in chronological order. Scan through the clip quickly by dragging the cursor across the clip. Only choose the best clips to drag to the timeline. The goal here is to cut down on the amount of footage that you're adding to the timeline.
After going through the entire trip folder, you should have a chronological timeline that has your best clips. Depending on how much footage you have, the timeline can be anywhere from 5 to 20 minutes long. A shorter timeline at this stage will make editing videos a lot easier, so keep that in mind.
Step 2. Cutting and eliminating clips from the timeline
Who’s the video for? We can break it down into two groups of people:
- People who've been on the trip with you. This group wouldn’t mind a longer video with some repetition because they can appreciate each clip. Make this video as long as you want.
- Your friends and family. This group only wants to see the best of the best. They don’t want to see the same thing over and over again and will get more easily bored. You need to be extra strict when editing and aim to have a short video. A finished video between 30-60 seconds will ensure you keep their attention the whole time!
Moving forward, I’m going to focus on the second group since this type of video is harder to make because of its shorter length.
Make the timeline shorter, then repeat.

Go through every clip and yourself, "is this clip interesting?" If the answer is “no” I cut it out! Also, cut out any portion at the beginning or end of a clip that is not exciting. To take out boring middle portions from clips, use a technique called jump cuts. Jump cuts are when you place together two sequential shots of the same subject taken from a slightly different camera position. This technique gives the effect of jumping forwards in time quickly, sort of like a fast forward.
Keep repeating the previous step until you get your timeline below 60 seconds. Trust me, it’s worth it! You are going to feel like you’re deleting precious memories. Don’t worry, you still have that footage stored in your folders, you’re only deleting them from your timeline.
I like to repeat that step 3-5 times while continuously asking myself "is this interesting" before I get under 60 seconds.
If you're finding this a little too time consuming or difficult, try our new travel video editing service where our team of professional editors do all the hard stuff and make you an epic video to cherish and share.
Create your story
Chronological order is always a good and safe bet, but you can experiment and put clips in different orders to tell a different story or to get better transitions as mentioned above.
The result for this part is a short timeline that has the general order of the story you want to tell.
Step 3. Adding music and synchronizing your clips
You’re probably thinking “shouldn’t we have done this by now?”. I like to wait until this point because now I have a rough video and I can get a feel for the type of vibe I want.
When choosing a song, try not to fall in the trap of picking your favorite one at this particular point in time. Instead, try and choose a song that goes well with your story. It will ensure that your video passes the test of time. I like to put the current timeline on a loop while I cycle through music libraries until I hear something that makes the hairs on my arms stand up.
A great source of copyright-free music is the Youtube Music Library and SoundCloud. You can use pop culture music, but you might run into copyright problems when uploading your video on Instagram (it might not let you) or Youtube (they will place ads on your video).
Placing the song in your timeline
In the song that I choose, I look for the best part of the song. It can be when the tempo increases, the drop happens, or the singing starts. Next, I look through my timeline and I choose the best clip near the beginning. Then, I line them up so that the exciting part of the song starts exactly when the exciting moment in my clip starts.
Editing and cutting to the tempo of the song
The next step is finding the tempo of the song. I listen to the song and I try to find a musical note at every “fourth”, e.g., "one and two and three and four". At every fourth, I will try to end a clip and start a new clip. Long clips can skip over more than one section of fours.
This trick should only be used as a guide, it's not the only way and it's not necessary. I love it because it's quick and it makes fun transitions that go to the beat of the song.

If your editing app permits, drop a marker down at ever “fourth” by pressing “M” on your keyboard (Adobe Premiere Pro). This will make lining up your clips much easier because you can cut and drag the clips to the markers. Otherwise, you can do it the old fashion way by pausing the timeline, dragging the clip, playing the timeline, and repeating.
If you like the content in this blog, subscribe to The Adventurist (our weekly newsletter) for helpful photography tips you can apply on your next adventure.
Your edit is almost done!
Time to think about the intro and outro. For openings, you can show previews of things to come, or overlay text of where your trip was taken, etc. For closings, you can simply fade to black and fade the audio.
Here’s the demo video that I edited using the three steps in this blog. I didn't use any fancy transitions, and I didn't edit the colors! You can see that the video is complete and is already more than good enough to share.
Wrapping it all up
Now you have all the basic elements on how to make a travel video. The trick is to keep making videos and over time you’re going to get better. For now, just have fun with it!
The hardest part is starting. So get out there, film some clips, and drag them to your timeline!
If you need more technical help with your video editing feel free to email me at andre@spivo.com. I’d love to help you out.
For some final inspiration, check out this amazing travel video from Sydney and Fabricio. Can you believe it was their first video ever made?!
Andre, Co-Founder

Leave a comment