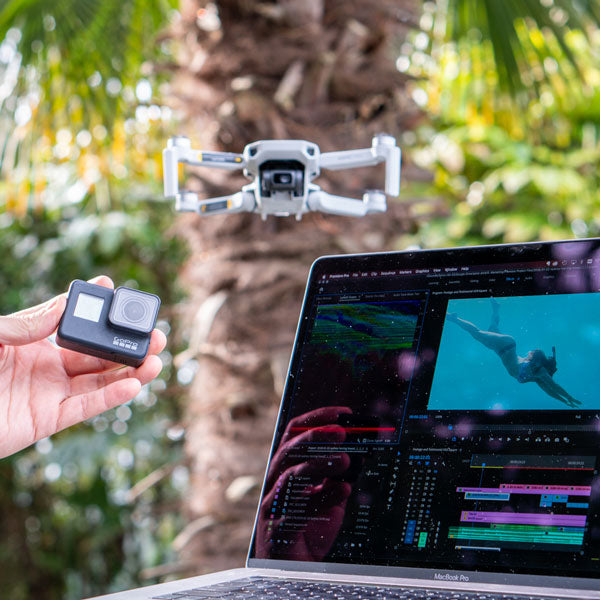
GoPro cameras have transformed video recording. They're compact and durable, ideal for recording your adventures. But, because they record a lot, editing GoPro videos can be a bit of a puzzle. You need to piece together a story from numerous clips and fix any issues in the footage. It's a creative challenge that can be rewarding when you see your edited video come to life.
Though it can seem intimidating, with a simple guideline, editing GoPro footage on a Mac can be a straightforward process and can be accomplished using video editing pro and early organization. In this blog, we'll give you a general step-by-step guide on how to edit GoPro footage on a Mac:
Step 1: Transfer GoPro Footage to Mac
This step is crucial, because if your GoPro camera footage isn't on your computer, then editing videos will significantly difficult. So, transferring your footage to your Mac is an easy process and can be done in a few simple steps.
Connect Your GoPro to Your Mac
This is done by turning on your GoPro camera, then connecting the camera to your Mac using the provided USB or USBC cable. Just make sure that your Mac is powered on and awake.
Select the Transfer Mode
Next, your GoPro camera will ask you to choose a connection mode. There are two options that work. Either select "Connect to Camera" or select "USB Connection." Sometimes the exact wording may vary depending on your GoPro model.
Another method would be to remove the micro SD card that’s sitting in your GoPro camera, insert micro SD to an SD card holder and then insert that into your computer.
Access and Import Your GoPro Videos
Your Mac should recognize the GoPro as a connected device and open the Photos app. If you don't want it in your Photos app, you can access your images through your finder. There are other applications depending on the age of your Mac such as Image Capture, or a similar program. If the apps don't open automatically, you can manually launch these applications, same for your finder. All you have to do, if it doesn't begin automatically, is click import. Then wait for the files to copy to your Mac. The time it takes will depend on the size of the files and the speed of your connection.
Eject Your GoPro and Verify the Files
After the transfer is complete, make sure to safely eject or disconnect your GoPro from your Mac to avoid data corruption. On a Mac, right click on the disk, and click "Eject." To ensure that the transfer was successful in the end, open the destination folder on your Mac and confirm that your GoPro footage is there.
Browse and Select Files
This is where transferring your GoPro videos gets to be a little more work. In the application where you've put your GoPro clips, you'll see a list of your all the files. Browse through all the clips, select the ones you want to keep, and organize a final destination folder on your Mac to save them.
Step 2: Organize Footage
Effective GoPro video organization techniques can significantly streamline your GoPro video editing, making it easier for you to create cinematic videos. Categorizing and labeling all the clips you have eliminates time-consuming searches.
Avoiding content organization techniques not only wastes time but also increases the risk of losing files and creates chaos in your workflow.
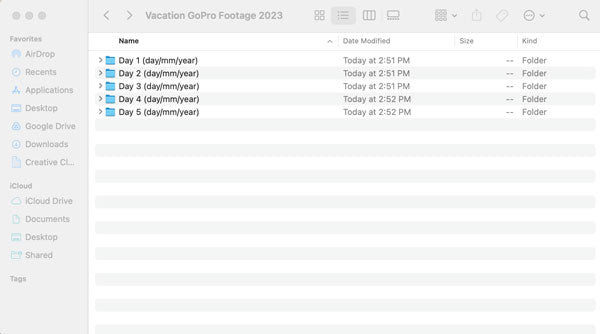
The best way to organize your video clips is date-based and folder based. Organizing content into date-based folders or sub-folders creates a helpful timeline that simplifies editing, whether you're doing it yourself or having someone else handle it.
For this approach to work effectively, use a naming convention that includes day, month, and year. For instance, if you just went on a short trip to New York City, your main folder might be "NYC GoPro Footage 2023," with sub-folders like "Day 1 (10/01/23)," and so on. For more precision, within the folder "Day 1 (10/01/23)," you can categorize more folders by specific excursions like "The Met," "Central Park," or "Times Square."
For more tips on date-based, folder structure, and other organization techniques, read our blog post called, "Content Organization 101: How to Avoid Losing Them."
Step 3: Choose Video Editing Software
Deciding on the right software for your creative GoPro projects is somewhat important.
With a plethora of video editing software options available, we'll dive into a few software solutions. While reading, consider their strengths and suitability for different needs, and provide you with valuable insights to help you make an informed decision on the ideal editing software for your next endeavor. Whether you're a beginner or a seasoned professional, this guide aims to streamline your decision-making process, ensuring your creative vision is realized with the perfect software choice.
iMovie
Want to edit videos but you're a beginner? Apple's iMovie stands out as a top-notch, pre-installed, and free video editor that caters to newcomers in the video editing domain who may lack prior experience.
This can be used as a GoPro app for mac as its user friendly interface requires no formal training, making it accessible to virtually anyone seeking to create professional-quality videos effortlessly.
Basic edits like trimming clips, and incorporating transitions are a breeze with iMovie. The best part is, it comes built into your Mac at no extra cost, and if, for some reason, it's not readily available, a quick visit to the app store allows you to download it for free.
iMovie's strengths lie in its easy sharing capabilities, audio effects, color correction, user-friendly learning curve, adjustable video clip speeds, a convenient timeline, and versatile titling options. However, it has some limitations, including accommodating only two video tracks and lacking 360-degree video editing and motion tracking features.
GoPro Quik App
Here's the thing about GoPro Quik... it's known for its ability to create quick edits, but the app isn't offered on Mac computers. Don't worry though! It's coming soon.
That said, GoPro Quik is the place to edit GoPro videos on mac. It has advantages for fast and easy editing, with pre-designed templates and seamless integration with GoPro. The software's focus on speed allows users to make simple edits and share videos rapidly, while also supporting various effects and playback speeds. Moreover, if you own a GoPro camera, Quik's integration streamlines the editing process for GoPro clips.
GoPro Quik offers essential tools like trimming, time-lapses, and transitions. However, it requires an internet connection, offers limited font customization, and its auto-editing feature is relatively basic.
Final Cut Pro
Final Cut Pro, Apple's distinguished professional software, caters to individuals seeking a higher level of video capabilities beyond the fundamental features found in iMovie.
Renowned for its advanced tools, Final Cut Pro is embraced by a wide spectrum of users, from hobbyist editors to seasoned industry professionals, who appreciate its precision and flexibility in video editing. It's the go-to choice for many content creators, including influencers who rely on it for refining their YouTube videos and other creative content.
While it comes at a price of $299.99, making it a premium option, Final Cut Pro has earned the esteemed title of a PCMag Editors' Choice winner among video editing software due to its trackless timeline, robust visual effects tools, key features such as color correction capabilities, motion effects, swift performance, and auto-save functionality.
However, it does lack a free trial and might be considered a pricey investment for some, especially those accustomed to traditional editing methods.
Adobe Premiere Pro
Adobe Premiere Pro is the best video editor if you're not going to use a GoPro specific editor. Premiere Pro is a renowned video editing solution known for its strong features and compatibility with Mac and iOS.
Pricing is subscription-based, with options starting at $20.99/month for individuals or $54.99/month for the "Creative Cloud All Apps" bundle.
Premiere Pro is a full featured video editor and excels in advanced features like color correction, multi cam editing, file conversion, video stabilization, background music, and more. Its usage by professionals, including the Spivo Video editing team, underscores its industry reputation.
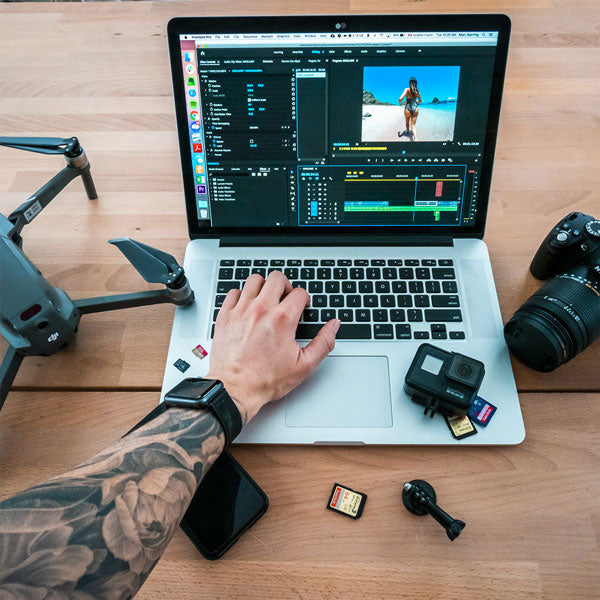
Step 4: Import Footage to Editing Software
Open Your Editing Software
When you launch your chosen video editing software on your computer, you'll be greeted with a blank slate (if it's you're first time using the software). Meaning, there won't be any list of previous work. It will most likely immediately prompt you to create a new project.
Create a New Project
If you're starting a new project, create a new project file by going to the "File" menu or the software's equivalent and selecting "New Project" or "New." Give your project a name and specify the project settings, including resolution, frame rate, and aspect ratio.
Import Footage
This is the first time where your organized footage will make your life easier. Look for an "Import" or "Media Import" option in the software. This is typically found in the "File" menu. A window will open that allows you to browse your computer's files. Navigate to the folder where your GoPro videos are located.
Select Footage and Import the Footage
Then, select the video clips or folders you want to import into your project. Let's say you want to import two clips, you can usually select multiple clips at once by holding down the command key on a Mac while clicking on the files.
Click "Import" or "Open" to add the selected video files to your project. Some software may have an "Import All" button if you've selected multiple files.
Footage in Your Project
The imported video clips will now appear in your editing software's media bin, project panel, or media library, depending on the video editor you're using. This is where you can scroll to see what clips to use when you edit GoPro videos.
Drag Clips to Timeline and Begin Editing
To begin editing, drag the video clips from the media bin or library onto the timeline or sequence panel. This is where you'll arrange and edit your footage. You can now start editing your video. In the next section of this blog, we'll go over editing tips for how to edit GoPro videos.
Step 5: Edit Footage
How to Begin Editing GoPro Videos on Mac
Now it's time to edit a bunch of clips into cinematic videos! To edit GoPro videos, begin by dragging and dropping your video clips onto the timeline or sequence panel. Engage the editing tools provided by your program to trim, cut, add transitions, effects, and titles. Fine-tune the color, brightness, and audio aspects to ensure your videos look and sound their best.Should your video contain audio, you have the ability to elevate its quality by making necessary edits. You can also incorporate music from a music library, sound effects, or narration to enhance your video's audio. Don't forget to reduce background noise.
Once your initial edits are in place, review your work and make any necessary refinements. Pay close attention to the pacing, transitions, and the overall fluidity of your video.
Upon achieving your desired edits, make sure you're saving as you go. In the end, proceed to export your finalized video. This is where you select your preferred export settings, including resolution and format, to tailor your video to your specific needs.
Click save, and voila!
Need more tips on how to edit a perfect travel video, we have a simple guide!
SPIVO VIDEO EDITORS KNOW HOW TO MAKE AN IRRESISTIBLE VIDEO - READ THEIR TIPS HERE!
Seems like a lot of work? Try Spivo!
Editing is not only time consuming, but it can also be difficult. If you turn to Spivo Video for your editing needs, then all you need to do is Step 1 of this blog; transfer your GoPro footage to your Mac. You don't even have to organize anything for Spivo. You also don’t even need a computer. You can upload directly from your phone to Spivo’s dropbox.
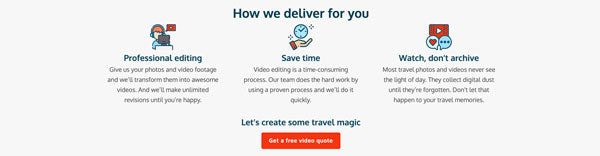
So what is Spivo Video? Well, they take immense pride in delivering top video quality created by meticulous and professional video editors. Their workflow is smooth, and it saves you the time you might have spent on self-editing.
Although Spivo primarily specializes in travel videos, their expertise extends far beyond that. They excel in crafting refined videos for diverse purposes, including businesses, branding, weddings, promotional content, and even real estate.
Spivo has editing hundreds of GoPro videos that one could actually say they specialize in GoPro video editing as well. Since Spivo loves travel, they can edit any video from any action cameras. Many users swear by Spvio, so your satisfaction is effectively guaranteed. Their motto at Spivo is simple: "Love it or it's free!"
Their pricing starts at an affordable $149 per video, tailored to your specific needs. Returning customers also have the option to choose their preferred video editor.
In addition to their pricing, Spivo frequently offers discounts and bundled packages, so keep an eye out for that! They also ensure that you receive your final video edit within seven days, all while maintaining exceptional quality. Plus, once you receive your final video, you're entitled to unlimited revisions for 30 days.
In a nutshell, Spivo offers an easy, time-saving, convenient, and professional solution. Look no further for your video editing needs!
Simply receive a quote, purchase the edit, and use the Dropbox provided to effortlessly upload your content files.
For examples of customer videos, make sure to check us out on TikTok and Instagram!
![Most Profitable YouTube Niches & Channel Types [With CPM Rates]](http://www.spivo.com/cdn/shop/articles/most-profitable-youtube-niches-with-cpm-rates_grande.jpg?v=1693586024)


Leave a comment